Elevate Your Space: A Guide to Wainscoting Installation
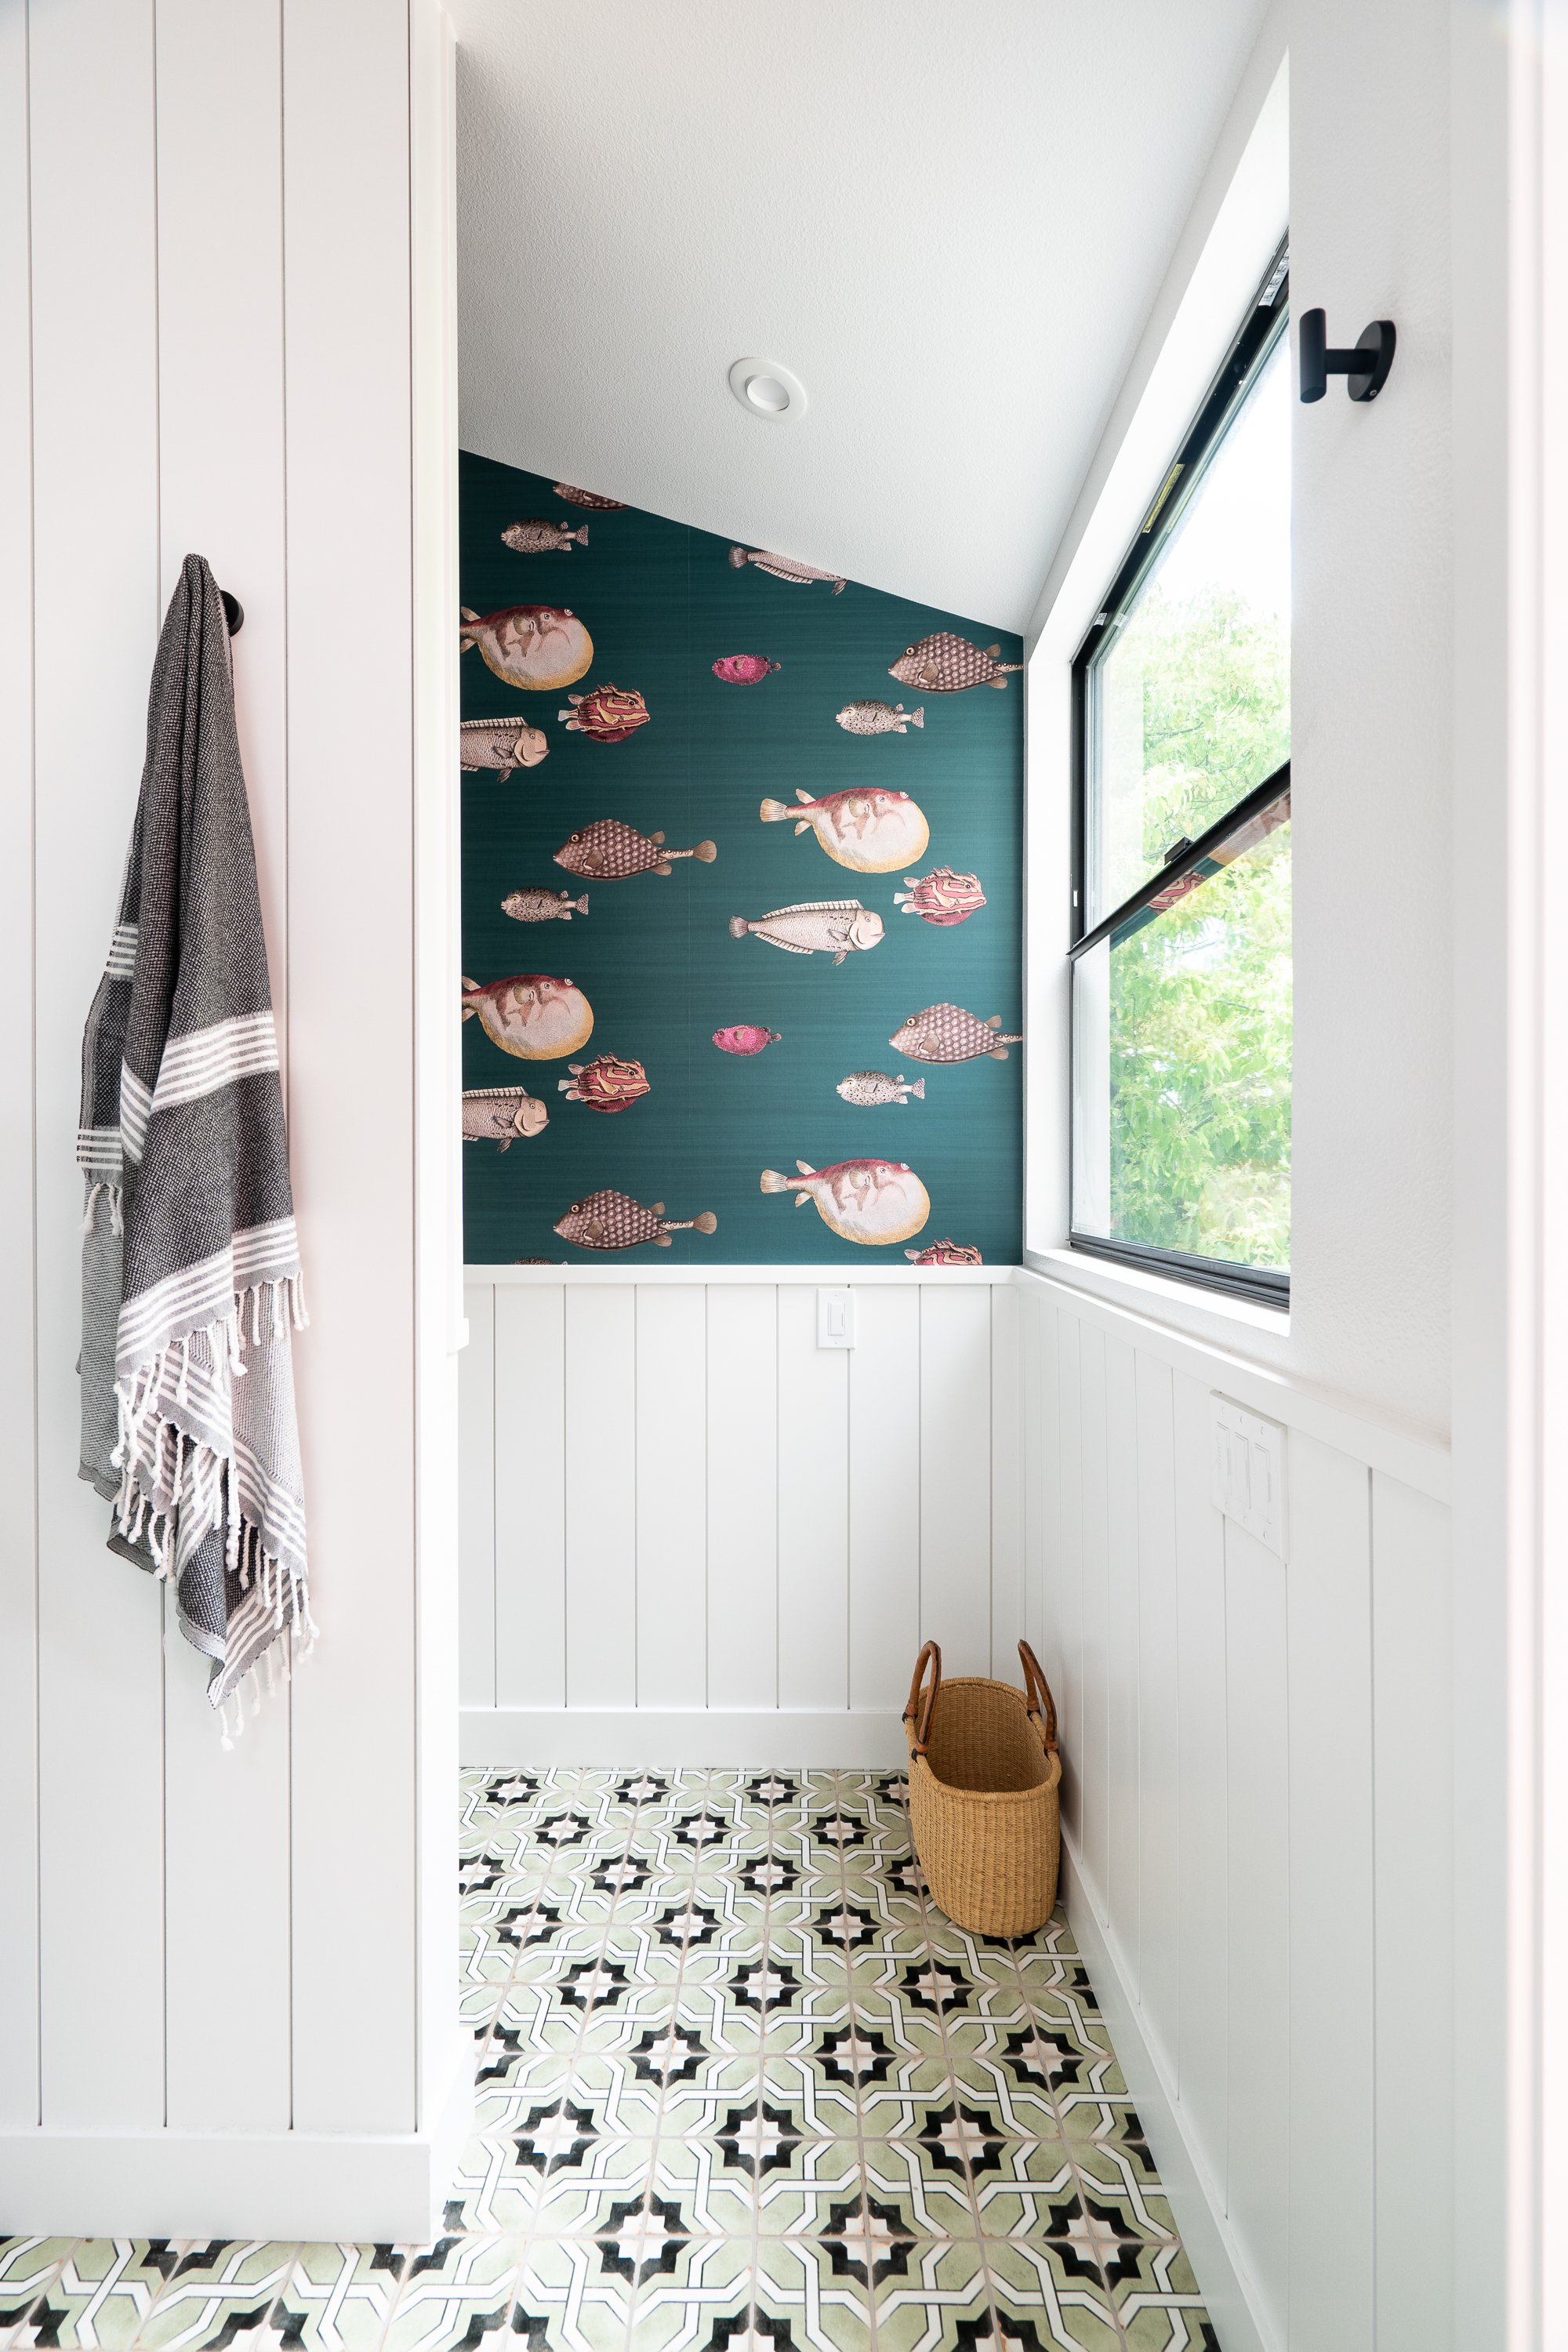
We absolutely love wall paneling and millwork, in our humble opinion nothing gives a space a more finished look than layering in different materials to contrast from your standard paint and drywall. Lets kick this convo off with wainscoting and what you need to know.
Image by your M. Swabb Interior Design Crew, Carlsbad Ca
As the interior designers, we understand the transformative power of design elements in a space. One such element that can instantly add charm, character, and sophistication to any room is wainscoting. Wainscoting is a classic wall treatment that not only enhances the aesthetics but also protects your walls from wear and tear. In this guide, we'll explore the art of wainscoting and how to design and install it to elevate your interior design projects.
What is Wainscoting?
Wainscoting refers to the wooden paneling that typically covers the lower part of interior walls. It comes in various styles, heights, and finishes, making it a versatile addition to any design scheme. Wainscoting can be adapted to suit a range of interior styles, from traditional to contemporary, adding depth and texture to a space.
Image by your M. Swabb Interior Design Crew, San Diego Ca
Designing with Wainscoting
Choose Your Style: Start by selecting the style of wainscoting that best complements your design vision. Some popular styles include beadboard, raised panel, board and batten, and shaker. Consider the architectural style of the space and the overall design aesthetic.
Determine the Height: Decide how high you want the wainscoting to extend up the wall. Typically, it covers the lower third or half of the wall, but you can customize this based on the room's proportions and purpose.
Select Materials: Choose the right wood or alternative materials for your wainscoting. Common options include oak, pine, MDF (medium-density fiberboard), and PVC. Consider durability, cost, and how well the material takes paint or stain.
Color and Finish: Decide whether you want to paint or stain the wainscoting. The color and finish should harmonize with the room's color scheme and overall design. For a classic look, white or off-white is a popular choice, but don't be afraid to experiment with bold colors or natural wood tones.
If you're tackling wainscoting as a DIY project, we recommend using this material calculatorhttps://www.omnicalculator.com/construction/wainscoting to estimate the materials you'll need with precision.
Image by your M. Swabb Interior Design Crew, Los Angeles, Ca
Wainscoting Installation
Gather Your Tools: You'll need basic carpentry tools like a saw, level, measuring tape, nail gun, and adhesive. Safety gear, such as safety glasses and ear protection, is essential.
Prepare the Wall: Ensure that the wall surface is clean and smooth. Remove any existing baseboards or trim.
Measure and Plan: Measure the wall to determine the number of panels and their sizes. Plan the layout, including the spacing between panels and their height. Mark the layout on the wall with a pencil.
Cut and Assemble Panels: Cut the panels to the desired size and assemble them according to your layout plan. Make sure the panels fit snugly against the wall.
Install Panels: Attach the panels to the wall using a combination of adhesive and nails or screws. Ensure they are level and secure. Repeat this process for each panel.
Add Molding: Finish the wainscoting by adding chair rail molding at the top and baseboard molding at the bottom. These moldings not only create a clean edge but also add a polished look to the wainscoting.
Fill and Paint: Fill any nail holes or gaps with wood filler, sand the surfaces smooth, and then apply your chosen paint or stain. Multiple coats may be necessary for a smooth and durable finish.
Image by: Nadine Stay
Wainscoting is a timeless interior design feature that can bring elegance and visual interest to any space. By selecting the right style, materials, and finish, and following proper installation techniques, you can use wainscoting to transform ordinary rooms into extraordinary ones. As an interior designer, mastering the art of wainscoting installation can be a valuable addition to your skill set, allowing you to offer clients a wider range of design possibilities and create truly remarkable interiors.


